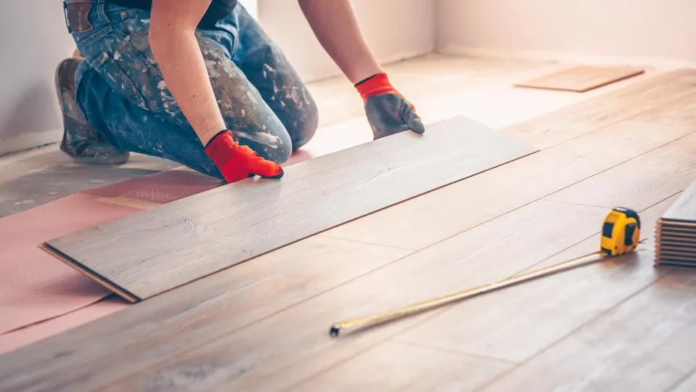
Hardwood floors have long been celebrated for their timeless beauty and durability. They add warmth and elegance to any space, making them a popular choice among homeowners. This guide will provide an in-depth look at hardwood floor installation, maintenance, and the importance of hardwood floor sanding to ensure your investment lasts for generations.
Benefits of Hardwood Flooring
Before delving into the installation process, it’s essential to understand the benefits hardwood flooring offers:
- Aesthetic Appeal: Hardwood floors come in a variety of species, colors, and finishes, allowing homeowners to choose an option that complements their décor.
- Durability: When properly maintained, hardwood floors can last a lifetime. They are resistant to wear and tear and can withstand heavy foot traffic.
- Increased Home Value: Installing hardwood floors can significantly increase the resale value of a home, making it an attractive investment.
Preparing for Hardwood Floor Installation
Successful hardwood floor installation begins long before the first plank is laid. Here are key steps to prepare:
1. Assess Your Space
Evaluate the area where you plan to install hardwood flooring. Ensure that the subfloor is clean, dry, and level. Any imperfections can lead to complications during installation.
2. Choose the Right Hardwood
Selecting the right type of hardwood is crucial. Common options include oak, maple, cherry, and hickory, each offering unique characteristics. Consider factors such as color, grain pattern, and hardness when making your choice.
3. Gather Necessary Tools and Materials
Before starting the installation, gather the following tools and materials:
- Hardwood planks
- Underlayment
- Measuring tape
- Circular saw or miter saw
- Hammer or nail gun
- Level
- Flooring adhesive (if necessary)
Hardwood Floor Installation Process
The installation process can vary based on the type of hardwood chosen (solid vs. engineered), but the following steps provide a general overview:
1. Acclimate the Wood
Allow the hardwood planks to acclimate in the room where they will be installed for at least 48 hours. This helps prevent expansion or contraction after installation.
2. Install Underlayment
If required, lay down the underlayment to provide cushioning and soundproofing. Ensure it covers the entire area and is properly sealed.
3. Start Laying the Planks
Begin installation in a corner of the room, working your way across. Use a level to ensure the planks are aligned properly. Depending on the chosen method (nail-down, glue-down, or floating), secure the planks accordingly.
4. Trim and Fit
As you approach walls and corners, you may need to trim the planks to fit. Use a miter saw for precise cuts and ensure the last row is securely fastened.
Maintaining Your Hardwood Floors
Once installed, maintaining your hardwood floors is essential to preserving their beauty and longevity. Here are some maintenance tips:
1. Regular Cleaning
Sweep or vacuum regularly to remove dirt and debris. Use a damp mop with a manufacturer-recommended hardwood floor cleaner to avoid water damage.
2. Prevent Scratches
Place felt pads under furniture legs and avoid wearing shoes with hard soles on the floors. Area rugs can help protect high-traffic areas.
3. Monitor Humidity Levels
Maintaining proper humidity levels (between 30-50%) is crucial. Use a humidifier in dry seasons to prevent the wood from shrinking and gaps from forming.
The Importance of Hardwood Floor Sanding
Over time, hardwood floors may show signs of wear, such as scratches and dullness. This is where hardwood floor sanding comes into play.
1. Revitalizing the Surface
Sanding removes the top layer of finish, exposing fresh wood beneath. This process can restore the floor’s original beauty and prepare it for a new finish.
2. Extending Lifespan
Regular sanding (typically every 7-10 years) helps maintain the integrity of the wood and extends the lifespan of the flooring. It allows homeowners to address minor issues before they become significant problems.
3. Customizing the Finish
After sanding, you have the opportunity to change the stain color or finish. This can refresh the look of your home and accommodate changing design preferences.
Conclusion
Installing and maintaining hardwood floors is a rewarding endeavor that can significantly enhance your home’s aesthetic and value. By understanding the installation process, preparing adequately, and committing to regular maintenance and sanding, you can enjoy the elegance and durability of hardwood flooring for many years to come. Whether you’re a DIY enthusiast or plan to hire professionals, this guide equips you with the knowledge needed to transform your home with beautiful hardwood floors.
